
Maze Rooms
Maze Rooms are mazes with various traps. There are three maze layouts in total, each with three possible spawn points and a single exit. Taking the wrong path can lead to triggering a trap.
Finding the Player's Location
Figuring out which maze the player is in can be done using the geometry of the starting position.
Spawn Point with Multiple Paths
If there are multiple directions to move in on spawn, then the player can only be in Maze 1. If they spawn in the middle of a hall with a visible dead end on one side, then they are at Spawn 1. If There are three visible paths, then they are at Spawn 2.
Spawn Point with a Single Path that Curves Left
If there is only one path to take and it curves left, the player is either in Maze 2 or Maze 3. If the path immediately curves left and then right, then the player is in Maze 2 Spawn 3. If they have to turn 180 degrees at the curve, they are at one of the other spawn points. If they have to turn left again, they are in Maze 2 Spawn 1. Otherwise, the player is in Maze 3, and they need to move to the first split to know which spawn they started at. This split will have a path forward and a path to the right. If the path forward curves to the right, they started at Spawn 1. If it curves to the left, they started at Spawn 2.
Spawn Point with a Single Path that Curves Right
If there is one path that curves right, the player could be in any maze, but each maze only has one spawn point that matches this description. If there is a left turn after the first right, then the player is in Maze 1 Spawn 3. If there is a split after the first right, the player is in Maze 2 Spawn 2. If the first right is a 180 degree turn leading to a left, the player is in Maze 3 Spawn 3.
Navigating Maze Rooms
Finding the exit in a Maze Room involves a lot of trial and error. When the exact spawn point in the maze is known, finding the exit is much easier. The following guides can be used to find the exit.
Maze 1, Spawn 1
- Proceed to first split and turn right
- At next split, go left, then immediately turn right
- Take next path on the right
- At next split, go forward
- Continue to exit
Maze 1, Spawn 2
- Face the wall with no path
- Go to the left
- At next split, take the first path on the left
- Take next path on the right
- At next split, go forward
- Continue to exit
Maze 1, Spawn 3
- Proceed to first split and turn right
- At next split, go right, then right again
- Take next path on the right
- At next split, go forward
- Continue to exit
Maze 2, Spawn 1
- Proceed to first split and take the first left
- At next split, take the first right
- Then, at the next split, Take the farthest left from where you are
- Continue to exit
Maze 2, Spawn 2
- Proceed to first split and take the first right
- At next split, take the first right
- Then, at the next split, Take the farthest left from where you are
- Continue to exit
Maze 2, Spawn 3
- Proceed to first split and turn left
- At next split, turn left, then left again at the next split
- Then, at the next split, Take the farthest left from where you are
- Continue to exit
Maze 3, Spawn 1
- Proceed to first split and turn right
- At next split, turn right
- Then, take the next left
- Continue to exit
Maze 3, Spawn 2
- Proceed to first split and turn right
- At next split, turn left
- Then, at next split, turn right
- Then, take the next left
- Continue to exit
Maze 3, Spawn 3
- Proceed to first split and take the leftmost path
- At next split, turn left, then left again at the next split
- Then, at next split, turn right
- Then, take the next left
- Continue to exit
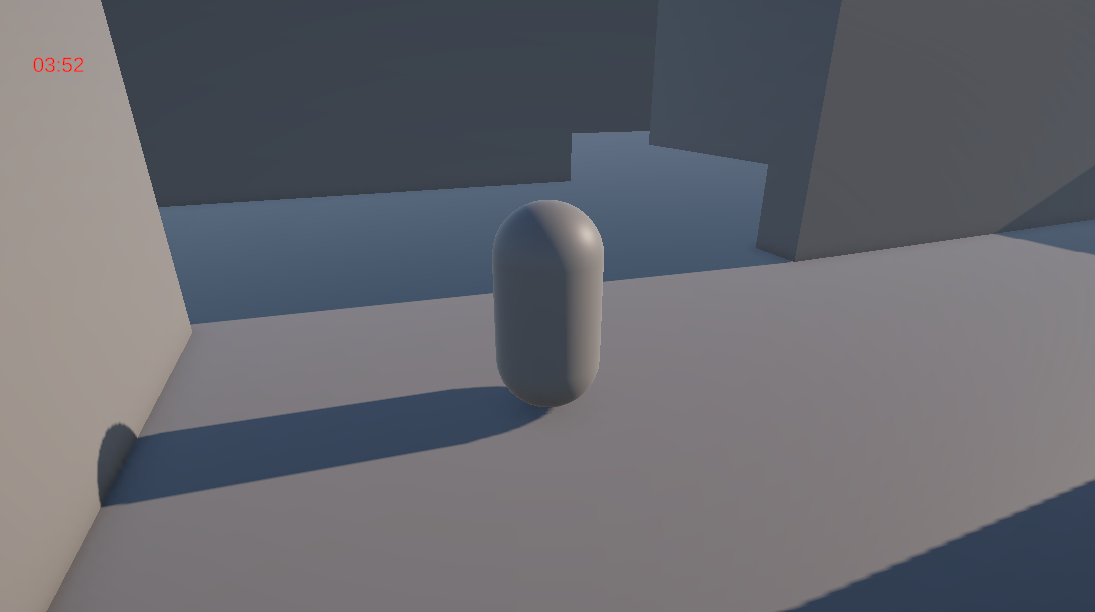
A split path in one of the mazes
The exit